Overview
This Quick Start Guide explains how to setup ThreatSTOP Roaming Devices in the portal and the Roaming client on your users’ Windows and OS X based devices. It also covers System Requirements (OS and Hardware), and what DNS services are compatible with the system. More detailed installation instructions are also available for ThreatSTOP Roaming.
Portal Setup
Roaming setup is handled primarily through the ThreatSTOP Portal. Setting up a roaming device in the portal will generate a license key file that may be used to activate a group of endpoint devices that share the same security policy. This key value will allow protection for the licensed number of protected devices. To purchase licenses for additional endpoints, please contact our Sales team (sales@threatstop.com). ThreatSTOP Roaming and ThreatSTOP’s DNS Firewall can share the same custom policies and lists. It also allows for rapid remediation of an endpoint by identifying the device by its hostname or serial number in the Roaming Report system.
-
Login to ThreatSTOP Portal. Click on Roaming Devices. If you are adding a new device click on + Add Device.
- The Add Device window will appear, you will need to provide the following information:
- Nickname: An easily recognizable name for the device being added.
- Hardware Identifier: Choose the hardware identification for your clients.
- Trusted DNS Servers: Enter one or more IP addresses to DNS servers that you know to be trustworthy. Multiple addresses can be entered with a comma between each entry.
- Require Admin: Set this to match your security policy. If your users have administrative rights to their machine it is safe to set this to No.
- Location: Select the country your business is based in. (Optional)
- Postal Code: Add the postal code (if available) of your business. (Optional)
- Policy: Select the threat policy you want applied to your roaming client group.
-
Click on Next then on Finish. This will add the device to your account, and generate a key which will be used during Roaming Client Setup.
- Download the key by clicking on the key icon.
Roaming Protection Install Process - Windows
- Download the Roaming client from: https://downloads.threatstop.com/roaming/ThreatSTOP_Roaming_Installer.msi
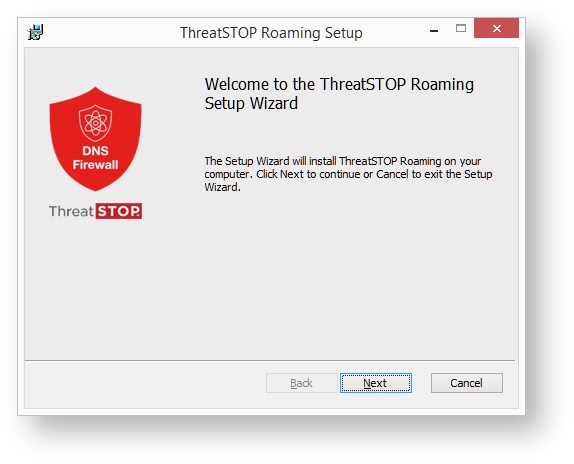
- Double-click the installer icon. Click Next.
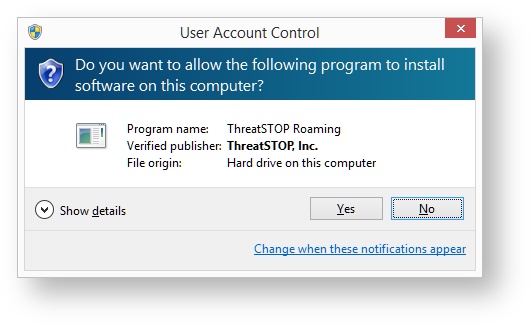
- A permissions window may appear, click on Yes to allow the files to be copied into place.
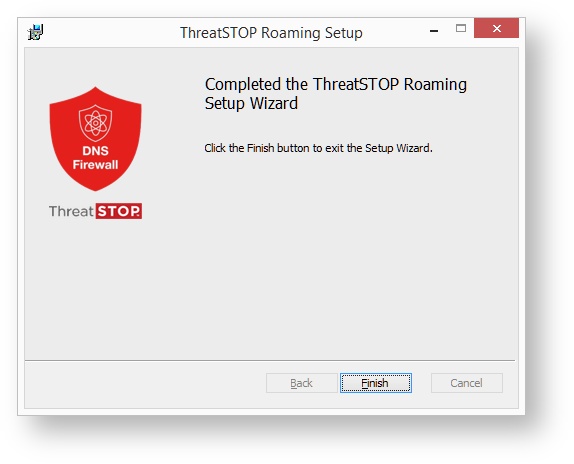
- Click Finish. Once this is complete you’ll be ready to run the Roaming client.
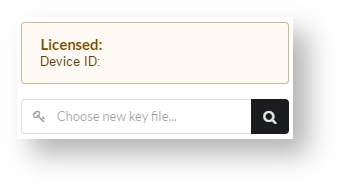
- If this is your first time installing ThreatSTOP Roaming right-click the ThreatSTOP Roaming icon and click Run As Administrator. Click on Settings and add your key file.
- Click on the switch icon to turn Roaming Protection On.
Roaming Protection Install Process - OS X
- Download the Roaming client from: https://downloads.threatstop.com/roaming/ThreatSTOP_Roaming_Installer.pkg
- Double click the package icon. Click Continue. Agree to the software license agreement.
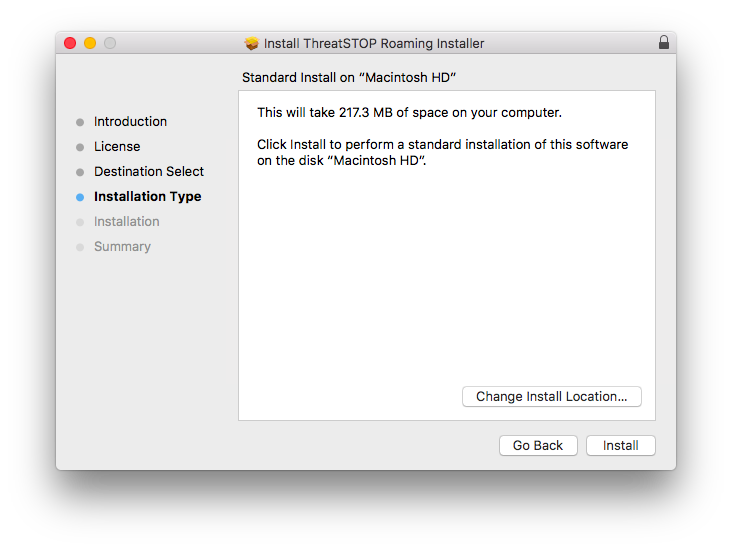
- ThreatSTOP Roaming needs to be installed to the system disk, click Continue, and then Install.
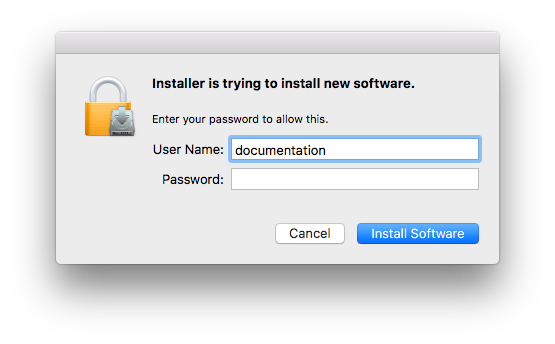
- You will be prompted for Administrator credentials to perform the install, provide the username and password, then click Install.

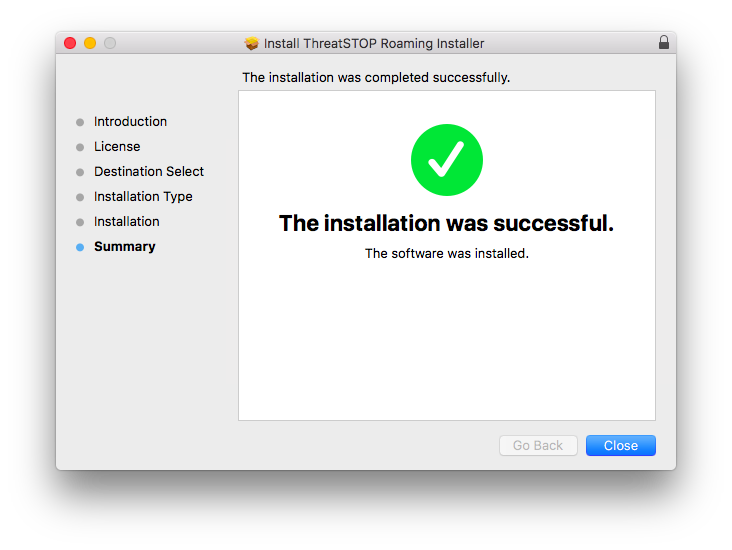
- This will begin copying the files to their installation location on your hard drive. Once this is complete you’ll be ready to run the Roaming client.
- Under Applications in the Finder locate and start the TSRoaming application to begin using ThreatSTOP Roaming on your device.
- Click on the Settings tab. Click on Choose new key file… Select the file and click Open.
- Click on the switch icon to turn Roaming Protection On.
System Requirements
Operating System
- Mac OS X
- Yosemite (10.10)
- El Capitan (10.11)
- Sierra (10.12)
- High Sierra (10.13)
- Microsoft Windows
- 8.1 or 10
- .NET framework 4.5.2 or above
Hardware
- CPU: No requirement beyond the ability to run the parent OS.
- Memory: Dependent on policy size (estimated at 50 MiB/100,000 entries in policy)
- Disk: 300 MB disk space for installation
Connectivity
- Outbound TCP/53 and Outbound TCP/5353 for DNS data
- TCP/443 (HTTPS) for log upload
System Time
- Correct time within 300 seconds. Network Time Protocol (NTP) is one ubiquitous solution.
Compatibility Issues
Some minor compatibility issues have been discovered between ThreatSTOP Roaming and the following software:
- DNS Crypt - DNS Crypt takes control of the operating system’s DNS settings and provides its own encrypted interface. This prevents ThreatSTOP Roaming from being able to successfully communicate with ThreatSTOP’s servers.
- OpenVPN Connect (earlier than 2.0) - OpenVPN Connect works by taking control of the operating system’s network stack and pointing DHCP and DNS resolvers to trusted hosts inside a different network. This will override ThreatSTOP Roaming’s behavior and can create a conflict. To work around this, ThreatSTOP roaming uses the Trusted DNS Server setting to establish when to disable itself. Setting the address for the DNS server that OpenVPN Connect uses will turn off ThreatSTOP roaming and instead rely on the parent network’s security services.
- Hyper-V - Due to the manner in which Hyper-V’s Virtual Network Switch handles interfacing with the parent OS, ThreatSTOP Roaming can only be used on systems on which Hyper-V has been installed, and a Virtual Network Switch has been setup in Private or Internal modes.
Security Warning
If you are running hypervisors other than Microsoft’s Hyper-V, be advised that your networking configuration could potentially bypass ThreatSTOP roaming. If your VMs are setup in Bridged networking mode they will not receive protection from the roaming client. Setting the network to behave in a NAT mode (passing all communications through the OS network stack rather than the hypervisor network stack) will allow the VM to maintain roaming protection through the parent system.