Overview
This document describes the integration process of the ThreatSTOP DNS Defense with pfSense running BIND 9 DNS server.
Setup proceedure summary:
- Step 1 - ThreatSTOP Portal setup
- Step 2 - Install pfSense prerequisites
- Step 3 - Configure DNS
- Step 4 - Setup a BIND View
- Step 5 - Setup a ThreatSTOP Response Policy Zone
- Step 6 - Testing / Troubleshooting your configuration
Compatibility
Supported Systems
| Manufacturer | Model |
|---|---|
| Netgate | pfSense v2.4.4+ |
Device Settings
You will need the following settings to complete the installation. You can retrieve the RPZ Zone name, Policy TSIG Key name, Policy TSIG Key secret and Device ID via the settings of the device in the Admin Portal.
| Setting | Value |
|---|---|
| DNS Server IP Address | * Settings shown when accessing through Devices > Docs |
| RPZ Zone Name | * Settings shown when accessing through Devices > Docs |
| TSIG Key Name | * Settings shown when accessing through Devices > Docs |
| TSIG Key Secret | * Settings shown when accessing through Devices > Docs |
Prerequisites
System
The ThreatSTOP DNS Firewall requires a system that meets at least these specifications.
- 2 GB of RAM
- 10 GB of disk space
- Time synchronized (NTP)
- pfSense v2.4.4+
Connectivity
To retrieve its configuration and policy, and to upload log data, the machine needs the following connectivity:
- DNS over UDP (Internal Clients -> DNS Firewall Device)
- Inbound UDP port 53
- DNS over TCP
- IP Range: 192.124.129.0/24
- Outbound TCP port 53 or 5353
- DNS over UDP (optional, but recommended for DNS notifications)
- IP Range: 192.124.129.0/24
- Inbound UDP port 53
- HTTPS
- Hostname: logs.threatstop.com
- IP range: 204.68.99.208/28
- Outbound TCP port 443
- NTP
- Outbound UDP port 123
Setup instructions
The following steps will walk you through configuring your pfSense DNS Firewall.
Step 1 - ThreatSTOP Portal setup
- If you want to use a custom DNS Firewall policy, please read DNS Firewall Policies
- Create a new Device Entry: Click on Devices and then on Add Device.
- The Manufacturer is: ISC
- The Model is: BIND 9 (pfSense)
- This will create your policy and TSIG keys, you will continue the installation on the pfSense
- Select the DNS Firewall policy - either a pre-defined policy or a custom policy
-
Note: It can take up to 30 minutes for a new device to become available after it is created in the Portal. Once the device is available, its IP address will be recognized in the output of the following command:
-
Nickname: This is a mnemonic name used to identify the device. It can be set to any string (A-Z, 0-9, - and _). If you create multiple device entries, each entry must have a unique nickname. The Nickname will be used to identify the device in the Reporting section of the ThreatSTOP Admin portal.
-
Policy: Select a pre-defined policy or a customized policy. It must be an DNS Policy type.
-
IP Type: Access to the ThreatSTOP services is controlled in part using an ACL allowing the device IP to connect. If your device has a static public IP address (the most common case), select static. If your device has a dynamic public IP address, the ThreatSTOP services can lookup the IP address using a DNS fully-qualified name (FQDN).
-
Public IP address: In static mode, this is the public IP address of the pfSense. It is possible to configure multiple device entries with the same public IP address.
- Note: An optional field to store a note of your choice about the device - location, identifiers, model…
Step 2 - Install pfSense prerequisites
Here we will log into your pfSense device and install the ‘bind’ DNS server package via pfSense package manager. This will not only install ISC BIND 9, but also a Web GUI component for the pfSense platform.
- Go to System > Package Manager > Available Packages > search for ‘bind’. (9.14_8+) hit Install
Download log upload utility
- If you intend to have your logs analyzed install the ts-pfsense_dnsfw-1.00-01.txz package available for download on the admin portal by clicking the
infobutton. - You can copy it to the pfSense device via FTP or SCP, or SSH into the pfsense device and
curlit directly from the device.
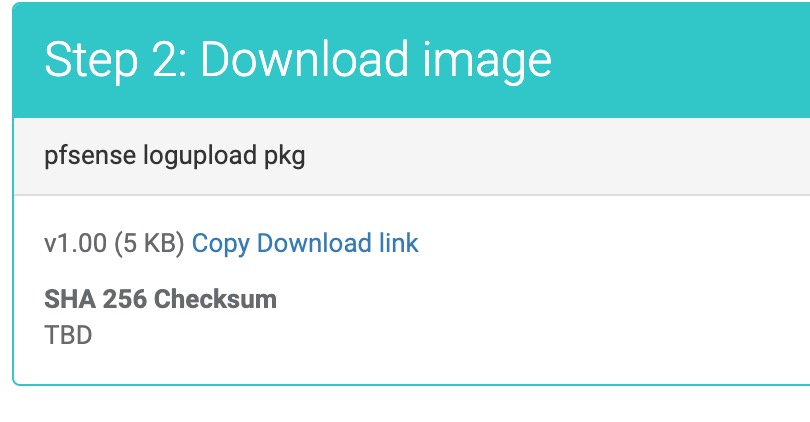
The download link is listed in the Step 2 section, as shown in this image.
- Click on the Copy Download Link to copy the link to your clipboard
- Using SSH, login as a privileged login to your pfSense device and type the following commands
# First we will download the software from out public repo (actual link provided in device info section)
curl -LO https://ftp.threatstop.com/pub/ts-pfsense_dnsfw-1.00-01.txz
# For your security: after downloading the file, we encourage you to validate its SHA 256 checksum. Compute it as shown below and compare it to the checksum in the Portal.
shasum -a 256 ./ts-pfsense_dnsfw-1.00-01.txz
# Now we install the log upload script via pkg facility
pkg install ./ts-pfsense_dnsfw-1.00-01.txz
Next we’ll add in your Device ID (TDID) * Settings shown when accessing through Devices > Docs into the /opt/threatstop/threatstop_dnsfw.conf. Finally we’ll uncomment out the scheduled task in /etc/cron.d/threatstop_dnsfw_logupload to let it run automatically. If you are logging frequently please consider running every minute instead of every 5 minutes as configured by the */5. To set it check every minute simply edit the cron file and change */5 to *.
Step 3 - Configure DNS
In order to set BIND as your DNS server you must first disable the DNS resolver shipped with pfSense.
- Go to Services > DNS Forwarder > ensure Enable DNS forwarder is unchecked.
- Go to Services > DNS Resolver > Disable DNS Resolver and hit Save (You may also have to hit Apply on the pop-up)
Next, we’ll start configuring BIND. Go to Services > BIND DNS Server.
Daemon Settings
- Check the
Enable BIND DNS serversetting. - Set the interfaces you wish the pfSense DNS FW to protect clients on. Make sure to include (lo / loopback) if you want your pfsense device to be able to resolve via the DNS server as well. Usually you’ll want to select all “trusted” interfaces here.
- Check the “Enable Notify” option. (This option allows notification beacons to trigger faster updates on your policy)
- You may want to increase the
Limit Memory UseRAM allocation if you have a larger policy. Generally speaking 512M should be ok for Basic - Moderate policies, but for larger policies we suggest setting 1024M-2048M.
Advanced-DNSFW.rpz.threatstop.local on pfSense, we’ve seen process php-fpm consume more than 512M and cause pfSense to crash with a Fatal error: Allowed memory size of 536870912 bytes exhausted error message. Please read the troubleshooting section for details on correcting this issue.Logging Settings
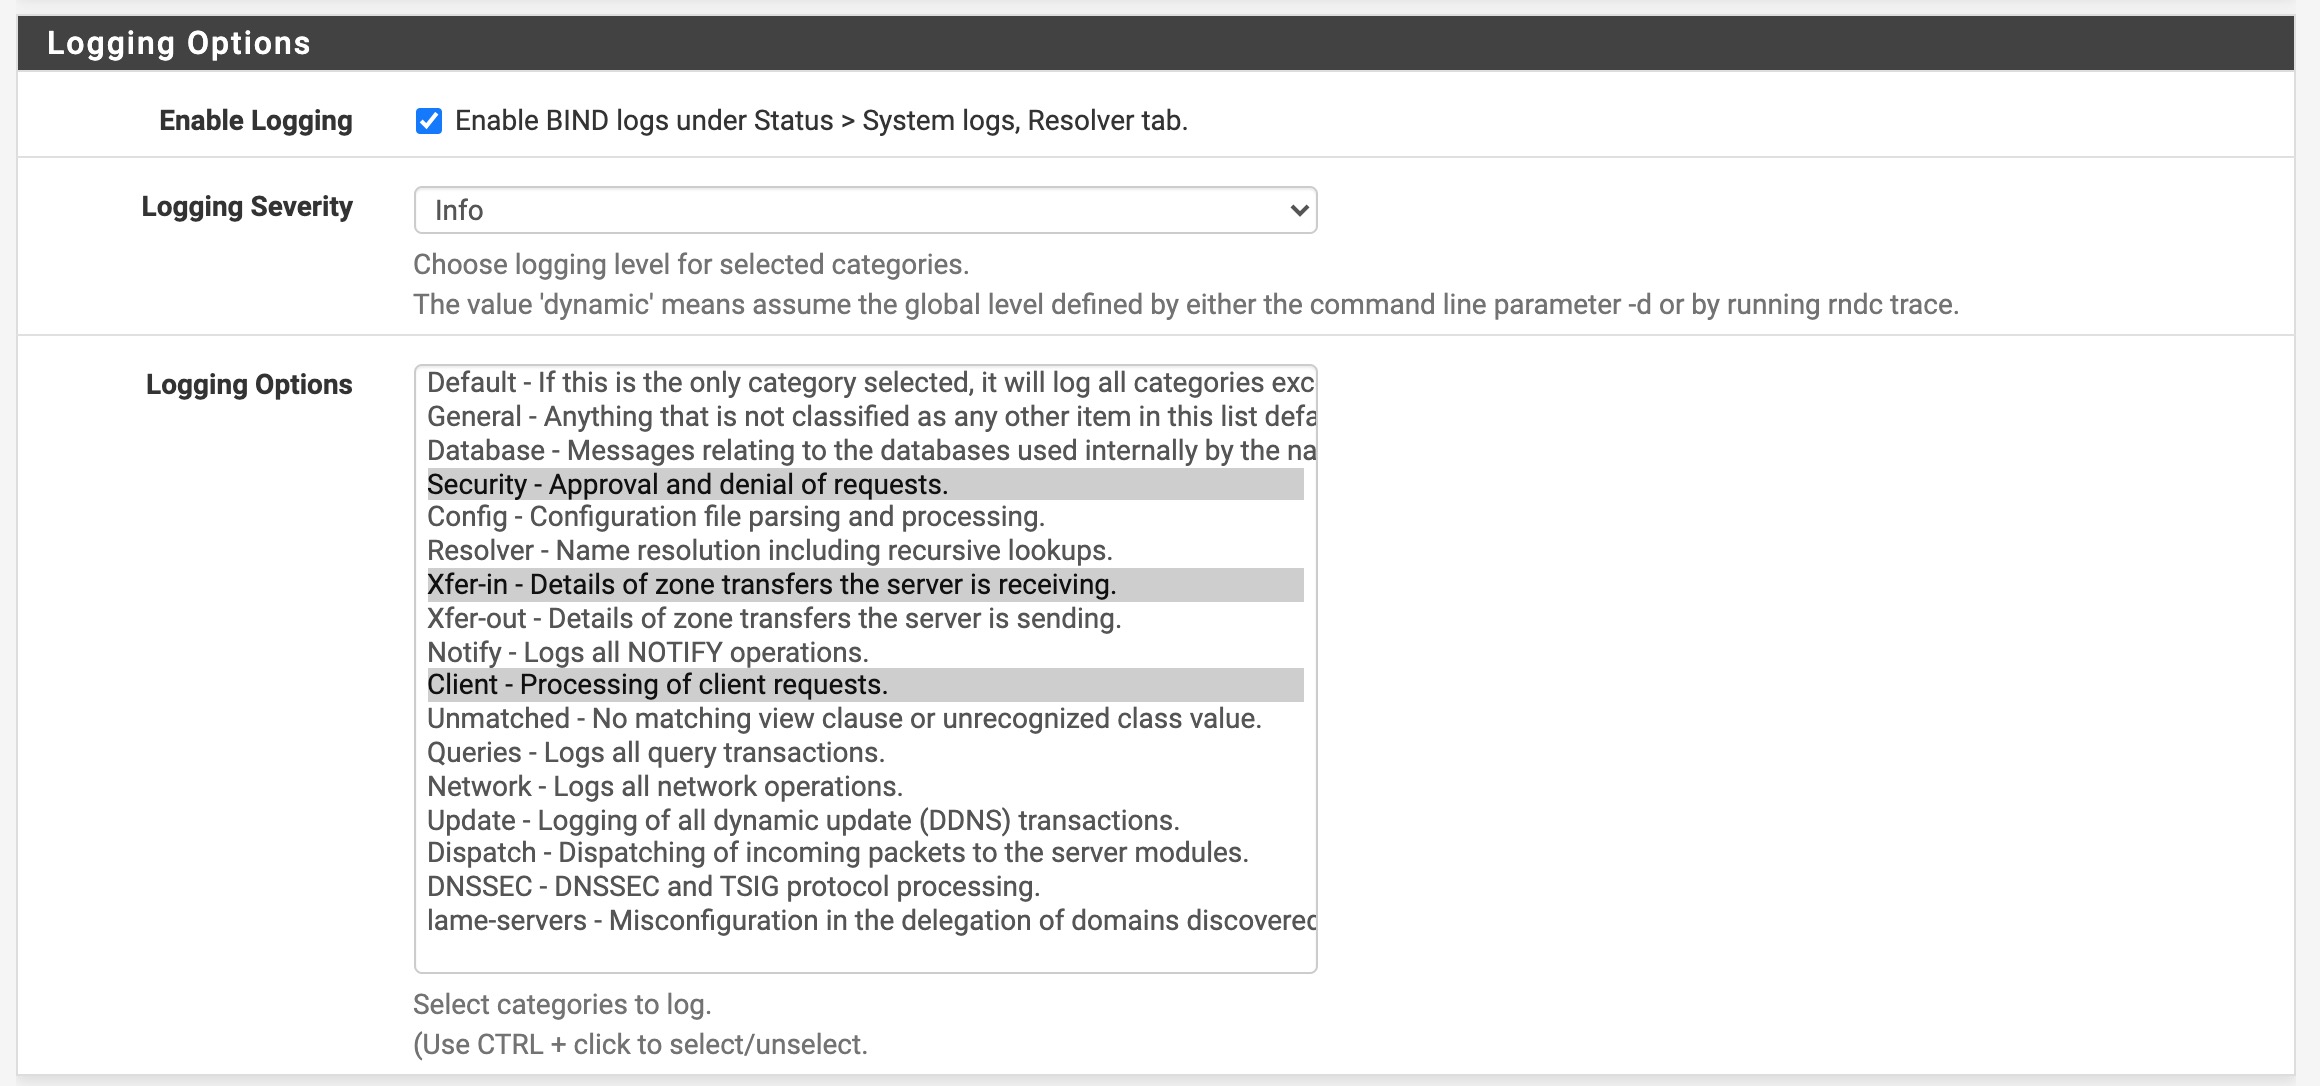
The following sub-section is only required if you intend to upload logs for upstream analysis.
- Check the
Enable Loggingsetting. - Set
Logging Severityto ‘Info’ - Select at least ‘client’ from the
Logging Optionsmultiselect box. You may also add Xfer-in & Security to identify potential issues during deployment (they are not required for analysis).
Response Rate Limit
This section can be setup to your personal preferences. We do recommend Rate Limiting if you don’t have full control over your environment.
Forwarder Configuration
This section can also be setup to your own preferences. For demonstration purposes we’ll set this up to forward all queires not hosted locally to other larger DNS servers. This could be an Active Directory DNS server in your company, or a publicly available DNS provider like Quad9, Cloudflare, Google DNS etc.. (9.9.9.9, 1.1.1.1, 8.8.8.8) or all of them.
If you wish to setup forwarding:
- Check
Enable Forwardingsetting - Input the forward lookup DNS Server IP Addresses separated by a semi-colon. e.g.
9.9.9.9; 8.8.8.8; 1.1.1.1;
Advanced Features
You will have to hit the “Show Advanced Options” button to see the ‘Advanced Features’ section.
Under Global Settings paste in the following configuration.
key threatstop-tsig_keyname-goeshere {
    algorithm hmac-md5;
    secret "SecretKeyGoesHere==";
};

server 192.124.129.51 {
    keys {  "threatstop-tsig_keyname-goeshere"; };
};
Hit [Save] to commit the changes.
Step 4 - Setup a BIND View
Simply put a BIND View is a mechanism that determines which instance will receive each incoming DNS query.
We’ll be creating a TSprotected view to identify which clients will be able to query the DNS Firewall. We recommend limiting access to trusted hosts only to reduce your attack surface.

- From within the BIND settings web configuration, click on ‘Views’ > [+ Add]
General options
| Setting | Value |
|---|---|
| View Name | a friendly name like ‘TSprotected’ |
| Description | a description of this view e.g. DNS Firewall protected |
| Recursion | Yes |
| match-clients | your preference, if you are unsure localnets & localhost are a safe bet |
| allow-recursion | your preference, if you are unsure localnets & localhost are a safe bet |
- Hit [Save] when complete.
Step 5 - Setup a ThreatSTOP Response Policy Zone

Here we will setup the zone configuration per your elected policy on Step 1.
- From within the BIND settings web configuration, click on ‘Zones’ > [+ Add]
- Enter in the settings below
Domain Zone Configuration
| Setting | Value |
|---|---|
| Zone Name | * Settings shown when accessing through Devices > Docs |
| Description | Enter a friendly description e.g. ThreatSTOP DNS Firewall RPZ |
| Zone Type | Slave |
| View | select view setup on Step 3 |
| Reverse Zone | unchecked |
| IPv6 Reverse Zone | unchecked |
| Response Policy Zone | checked |
| Custom Option | Copy and Paste snippet below |
Zone Custom Option config snippet
allow-notify { 192.124.129.0/24; };Slave Zone Configuration
| Setting | Value |
|---|---|
| Master Zone IP | * Settings shown when accessing through Devices > Docs |
Device configuration settings
| Setting | Value |
|---|---|
| Policy TSIG Key Name | * Settings shown when accessing through Devices > Docs |
| Policy TSIG Key Secret | * Settings shown when accessing through Devices > Docs |
| Device ID | * Settings shown when accessing through Devices > Docs |
- Hit [Save] to commit settings.
Step 6 - Testing / Troubleshooting your configuration
You can test the RPZ policy is working correctly by verifying a known blocked address like bad.threatstop.com returns NXDOMAIN. Below is an example of running with the DNS Utility dig.
dig @[BIND Server IP or Hostname] bad.threatstop.com
;; ->>HEADER<<- opcode: QUERY, status: NXDOMAIN, id: 5611
;; flags: qr rd ra; QUERY: 1, ANSWER: 0, AUTHORITY: 0, ADDITIONAL: 2
Below is an example using nslookup, found natively on Windows machines.
C:\Users> nslookup bad.threatstop.com [BIND Server IP or Hostname]
Server:     [BIND Server Hostname]
Address:    [BIND Server IP]#53

** server can't find bad.threatstop.com: NXDOMAIN
Looking up a non-restricted website like google.com should return its current IP. You can repeat this on any client using this device as a DNS server.
- Check that a log entry was added to
/var/log/resolver.logusing the clog utility. - You can test connectivity to ThreatSTOP by running:
$ curl https://logs.threatstop.com/cgi-bin/validip.pl
Your IP address: <ip address>
Address is in the list of authorized hosts
If your pfSense started crashing with a Fatal error: Allowed memory size of 536870912 bytes exhausted or similar error message, you may need to increase the memory php-fpm is allowed to consume. Try increasing the memory by 256M increments until you are able to load the policy. If you would like to revert to a smaller Policy, you should be able to find & edit the policy zone name in /conf/config.xml. You may have to reboot your device to let the settings take affect.
[2.4.5-RELEASE][admin@pfSense.localdomain]/root: vi /etc/inc/config.inc
// Set memory limit to 512M on amd64.
if ($ARCH == "amd64") {
        ini_set("memory_limit", "1024M");
        // ini_set("memory_limit", "512M"); //-- increased to 1G
} else {
        ini_set("memory_limit", "128M");
}
If your BIND service is crashing, check the following logs /var/log/system.log /var/log/resolver.log using the clog utility.
clog /var/log/system.log
clog /var/log/resolver.log
If this didn’t lend any clues, you can run named-checkconf to validate the BIND configuration is free from syntax mistakes.
named-checkconf /cf/named/etc/namedb/named.conf
If you have lost the ability to change settings via the Web UI, you should be able to modify them by editing /conf/config.xml. IMPORTANT You should backup your system before editing this file, mistakes made in here can crash your system.